



Learning how to use a knapsack sprayer comes down to four habits: assemble and leak-test the unit with plain water before the first chemical fill, start the engine with the tank standing on the ground, keep the gun moving at a steady walking pace, and clean the whole system the same day. This guide to how to use a knapsack sprayer walks through each step on an engine-driven knapsack power sprayer, using our own range as the reference, and points out where a manual sprayer differs.
What Is a Knapsack Sprayer, and How Does the Power Version Work?
A knapsack sprayer is a tank carried on the operator’s back, a pump that pressurizes the liquid, and a hose and spray gun that direct it at the crop; any guide to how to use a knapsack sprayer starts with those three parts. The manual version pressurizes with a hand lever. The power version replaces the lever with a small gasoline engine driving a plunger pump, so the operator’s hands are free for the gun and the pressure stays constant instead of fading between strokes.
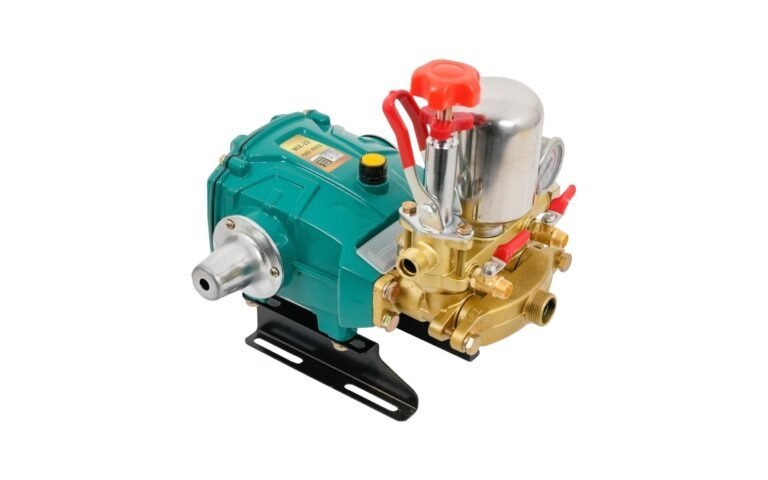
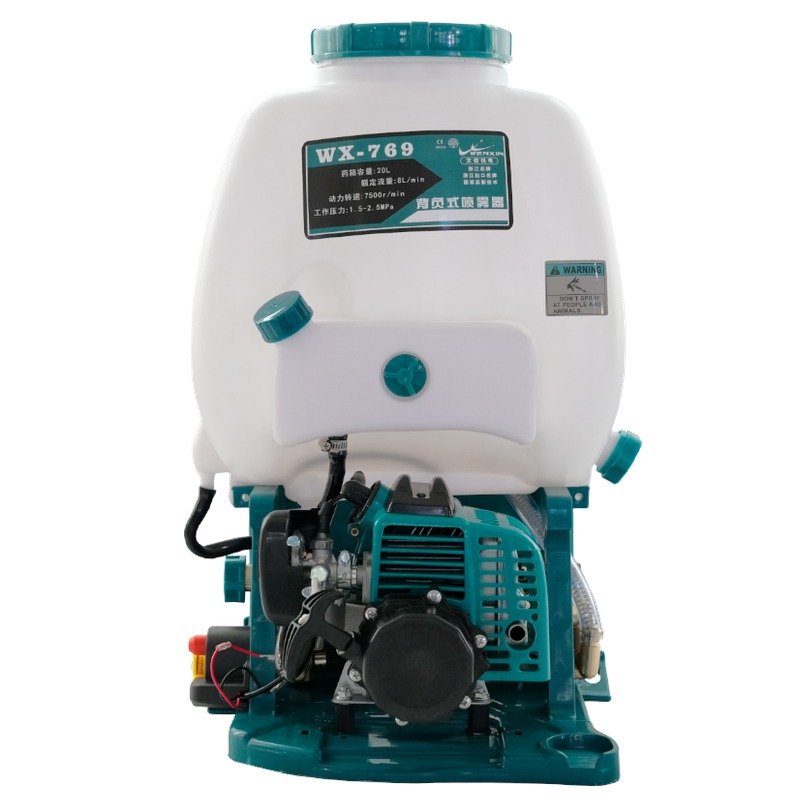
On our knapsack power sprayers the working end is the same across the line: an aluminum pump head with an 18 mm plunger, rated at 8 L/min and a 7–8 m spray range, which is what lets a ground-level operator reach tree canopies in an orchard. Four engine options, the TU26, 34F, 139 and 35, cover 25.6 to 35.8 cc and 0.7 to 0.85 kW, so the same tank and pump can be matched to the engine a market prefers. Knowing which engine is fitted matters for how to use a knapsack sprayer correctly, because two-stroke and four-stroke engines take different fuel and oil routines, as covered below.
How Do You Assemble a Knapsack Sprayer Before the First Fill?
The first lesson in how to use a knapsack sprayer is a dry run: assemble on a bench with the manual open, and do the first fill with clean water, not chemical. The unit ships with the tank and the engine-pump module on the frame; what usually needs fitting is the shoulder straps, the hose between the pump outlet and the gun, and the spray gun itself. Our factory-standard gun is a 90 cm brass gun; alternative guns are available, and the same hose connection applies to all of them.
Tighten every hose clamp and threaded joint by hand, then check the tank lid seal and the strainer under it, because grit that passes the strainer ends up in the plunger and the nozzle. Before the engine is touched, confirm from the manual whether it is a two-stroke, which runs on gasoline mixed with two-stroke oil, or a four-stroke, which takes straight gasoline and holds its oil in a separate sump. Our line offers gasoline engines of both types depending on the model, so never assume; read the label on the engine.
Fill with water, run the pump, and look for drips at every joint. A knapsack sprayer that leaks water will leak pesticide onto the operator’s back.
How to Use a Knapsack Sprayer Step by Step
Ask any experienced operator how to use a knapsack sprayer and the answer is a sequence: fill on the ground, start on the ground, lift, spray, and shut down before refilling. Put the sprayer on level ground, add water to part of the tank, then the measured product according to its label, then the rest of the water, and close the lid firmly. Never mix with the tank on your back.
Start the engine with the sprayer standing on the ground, choke on for the recoil pull and choke off as it warms, and let it idle before you lift it. Adjust the straps so the weight sits on the hips as much as on the shoulders; a 25 or 30 L tank is a serious load when full. Open the gun away from you, check the pattern against a bare patch of ground, and only then walk into the crop.
Spray at a steady pace with the gun moving continuously, so each pass overlaps the edge of the last one slightly and nothing gets a double dose. Direct the spray at the target rather than into the air; the 7–8 m reach is there for tall trees, not for standing farther away than necessary. When the tank runs low, close the gun, stop the engine, set the unit down and refill; never top up a running sprayer. That one rule in how to use a knapsack sprayer prevents most spills.
How Do You Calibrate a Knapsack Sprayer for Even Coverage?
Calibrate with water before every new product or nozzle, because the pump’s rated 8 L/min tells you what the pump can deliver, not how much lands on each square meter. That figure depends on the nozzle fitted, the pressure setting and how fast you walk, and it is the part of how to use a knapsack sprayer that most often goes wrong.
The method is simple and it is the same for anyone learning how to use a knapsack sprayer. Mark out a measured strip of the crop, fill the tank with a known volume of water, spray the strip at your normal pace and gun angle, then measure how much water is left. The difference, divided by the area covered, is your application rate, and you compare it with the rate the product label calls for. If the two disagree, change the nozzle or the walking pace first, and the pressure setting last, then repeat until they match.
Nozzle choice changes the pattern: a focused pattern directs spray at a specific area, a broader pattern gives more even coverage, and where several crops share one unit a set of interchangeable nozzles is more practical than a single fixed option. Calibrate each nozzle separately, a step in how to use a knapsack sprayer that is easy to skip; the figure you got with one nozzle does not carry over to another.
How Do You Clean and Store a Knapsack Sprayer After Spraying?
Cleaning is part of how to use a knapsack sprayer, not an optional extra: residue left in the tank hardens in the pump and nozzle, and the next product can react with it. Empty any leftover mix where the label allows, then rinse the tank, run clean water through the pump, hose and gun until it comes out clear, and drain the whole system.
Clean the spraying system after use according to the product instructions, and check the nozzle, hose, connections and tank for blockage, leakage or visible damage each time. Sealing and moving components should be maintained as recommended; on a plunger pump that means the plunger seals and the valves. Wipe the outside, store the unit dry with the lid loose, and keep a small stock of common replacement parts so a worn seal or a lost nozzle does not stop work during peak spraying periods.
For a four-stroke engine, check the oil level before storage; for a two-stroke, deal with the fuel as the manual describes before a long break. Most questions about how to use a knapsack sprayer end here, with a unit that starts cleanly next season.
Which Knapsack Power Sprayer Should a Distributor Stock?
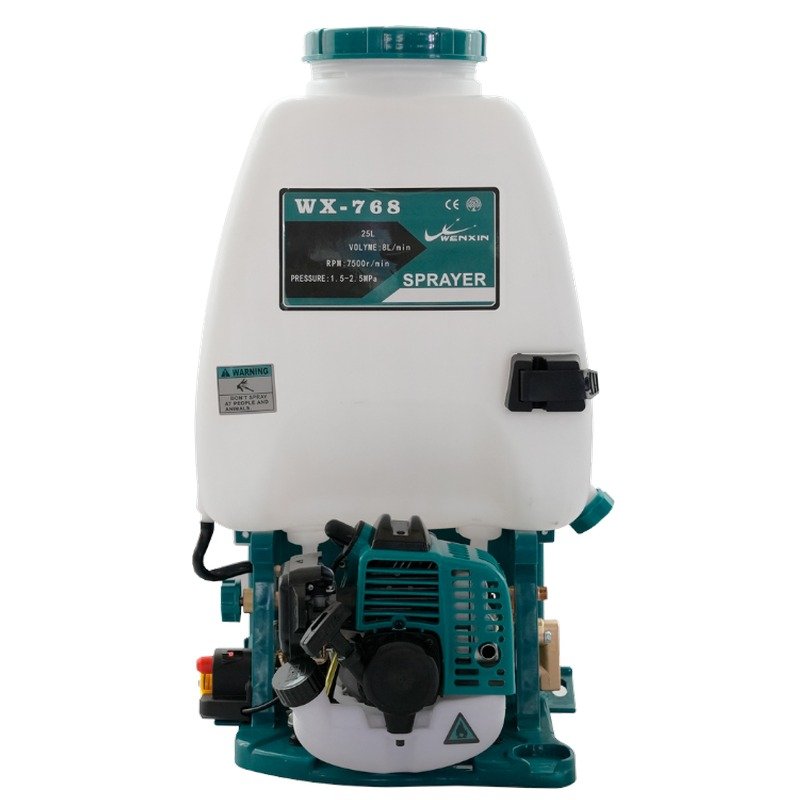
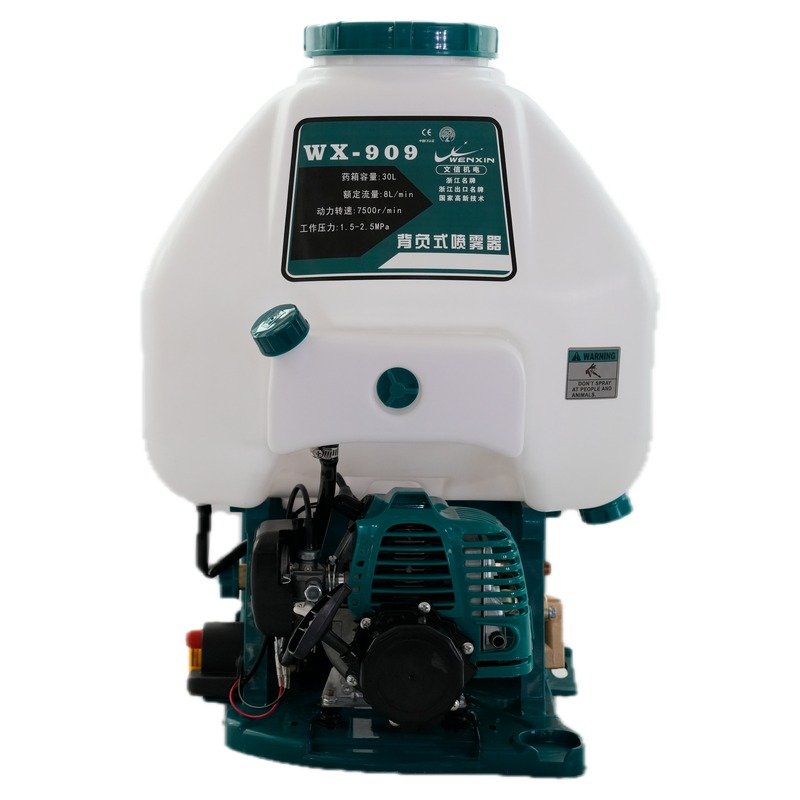
Stock by tank size first, because the pump, gun and engine choices are the same across the line; only the tank changes the operator’s day, and none of it changes how to use a knapsack sprayer. Our range runs from 15 L on the 769 and 850, through 20 L on the 708, to 25 L on the 800, 808, 809, 866, 8251, 8255 and 8259, and 30 L on the 900 and 909; the 767, 768, 505, 508 and 8241 are specified with either a 20 or 25 L tank, and every capacity is listed as customizable.
A smaller tank suits confined plots and operators who prefer more refills over more weight; a larger one cuts interruptions across big orchard blocks. Beyond the backpack format, the same engine-pump module is also offered in portable, pump-frame, square-frame and all-in-one versions for users who spray from a fixed position. Distributors who can explain how to use a knapsack sprayer to their customers, and who keep nozzles and seals in stock, sell the second unit more easily than the first.
Browse the full knapsack power sprayer range, compare the 769 and the 768, and see the 909 for the largest tank. For the engine side, our guide to two-stroke versus four-stroke engines explains the fuel routine in more detail, and our team can advise on which knapsack sprayer configuration suits your market.
Sourcing sprayers, generators or water pumps?
Talk to the WENXIN factory team about specifications, customization and OEM orders.